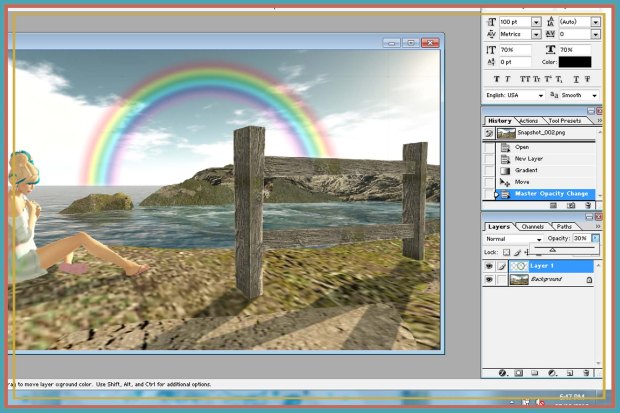
After my last tutorial, I figured I’d show you how I created the rainbow I used in the final picture. It’s super simple, and doesn’t require any addons like new brushes or junk like that.
1. Make a new layer
After you’ve opened your picture in whatever Photoshop you use (I’m out of date and use 7) go up to the toolbar and create another layer.
2. Open the gradient bar
Click the gradient tool, and make sure radial version is selected (the round one) and pick the transparent rainbow style. That’s the rainbow bordered by alphas.
3. Create your new gradient
Now, here comes the tricky part. You’ll have to move the coloured arrows and replicate the gradient in the picture above. Once you have one you’re happy with (make sure to test it out), create your rainbow circle while making sure it doesn’t clip on the edges.
4. Position and erase
After you’ve moved your rainbow to where you want it, big a feathered (soft) brush to erase appropriate areas. Next, move over to the opacity option in the layers box, and set it to where you think looks good. I’ve set it to 30% here.
5. Make it pretty!
Add whatever effects to make your shit look good. Lens flare is always a good standby!


